• About Me
  • Blog
  • Design Services
  • Shop
  • Portfolio
  • Contact
Menu

Revive & Design

Street Address
City, State, Zip
Phone Number

Your Custom Text Here

Revive & Design

  • About Me
  • Blog
  • Design Services
  • Shop
  • Portfolio
  • Contact

DIY Fireplace Refresh using Paint

September 2, 2017 Lindsey
IMG_5931.jpg

Happy Labor Day weekend my friends!  I've been super busy this past week trying to get all my "projects" finished up so we could just spend time relaxing and playing with the kiddos.  This fireplace refresh was a quick, easy project that had such a huge payoff.   You see this tile surrounding our fireplace has been staring at me and mocking me since the day we moved in.  Every time I would walk by it I would cringe.  But it just wasn't on on the top of our priorities so I just "lived" with it.  Finally I'd had enough, I woke up and decided I was gonna slap some paint on it.  I mean what's the worst that could happen?  We planned on replacing it at some point anyways so if this was a project fail no harm done. Right?!  

Well let me tell you, it wasn't a fail at all!  In fact, I LOVE IT (and so does my husband-BONUS).  Let me tell you all about the steps I took to transform our tile.  Here is a shot of the before so you can see what I was working with.

IMG_5912-2.jpg

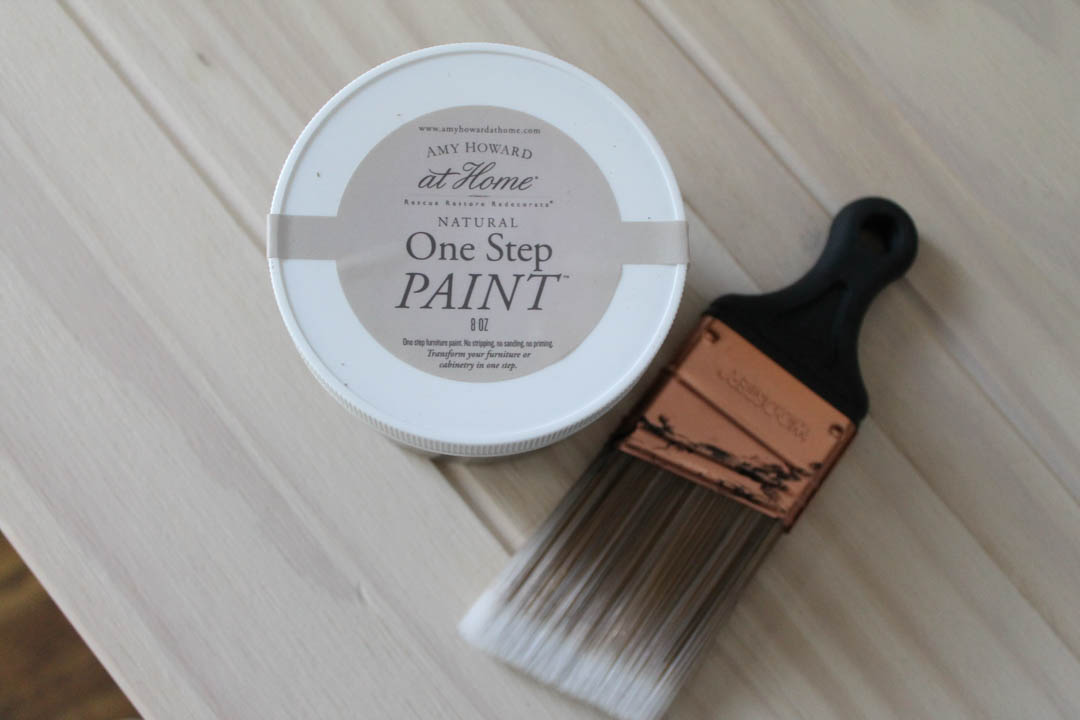
I used an all purpose cleaner to give the tile a good scrubbing and then let it dry completely.  Then I grabbed my paint brush and my Amy Howard at Home One Step Paint in Hugo Gray and Linen.  I mixed the two colors together to get this custom color.

IMG_5911-2.jpg

I taped off around the tile to protect the wood and black portion of the fireplace.  I did a very light first coat to keep it from dripping.  Let each coat dry for about an hour or else the brush will pull off your previous coat.  It took me 3 coats, although I could have probably left it at 2 (I can't always leave well enough alone). :)  Here is a picture after the first coat so you can see the coverage.

IMG_5918-2.jpg

I let the tile dry over night just to be safe, and sealed it with 2 coats of wipe on poly in satin finish (let poly dry 2 hours between coats).  After that I pulled off the tape and drooled on the floor in amazement! lol  I was so happy with how this turned out.  The whole project took maybe an hour total.  Can't beat that right!?

And now for some after pics!!! YAY!!!

IMG_5941.jpg
IMG_5931.jpg
IMG_5924.jpg

I hope you guys enjoyed this little tutorial and now have the courage and know how to go paint something! :)  I'd love to here what you think of the makeover, and I'm always happy to answer any paint questions you might have.  Enjoy your weekend friends! 

Lindsey :)

SaveSave

In DIY, Our Home, Design
← Budget Friendly Laundry Room Makeover5 steps to a Modern Farmhouse Kitchen Makeover →

hey there!

I'm Lindsey

I'm so glad you found me! Take a look around, enjoy yourself and don't forget to say hi!


categories

D E S I G N
D I Y   P R O J E C T S
D E C O R
O U R   H O M E
M I S C.


follow along

❤️Black Lives Matter ❤️#blackouttuesday
Having so much fun designing a classic bar for this lovely Leawood home. ❤️ The client loves blue/turquoise and this is how I incorporate color without being over the top. 
Do you struggle with using color in your home? 🤔 Remember try to use color i
Is anyone else getting tired of hauling plants in and out of the house because this weather can’t make up its mind?! 🤪 I have two trays of veggies just waiting to be planted...please send warmer weather. 😊 🙏
“A mother is she who can take the place of all others but whose place no one else can take.” -Cardinal Mermillod
So fresh and so clean!  When we were choosing our cabinet color for this home I knew I wanted the perfect putty/greige.  I think Northern Cliffs by Benjamin Moore hit the nail on the head.  It’s warm and cozy yet still light enough to make the
I’m alive!  Just emerging from my holiday haze. 😊 We had such a good break and it was just what our family needed.  Hope you all are feeling recharged and ready to take on 2020. ❤️ sharing our before and after view of our dining/living room.

subscribe

Enter your email address to subscribe to this blog and receive notifications of new posts by email.

Thank you!

pinterest


subscribe for your free guide!

Sign up for our monthly newsletter and you'll get our FREE Home Styling Made Easy guide!

Thank you! Check your email to confirm your subscription and receive your FREE guide!


❤️Black Lives Matter ❤️#blackouttuesday
Having so much fun designing a classic bar for this lovely Leawood home. ❤️ The client loves blue/turquoise and this is how I incorporate color without being over the top. 
Do you struggle with using color in your home? 🤔 Remember try to use color i
Is anyone else getting tired of hauling plants in and out of the house because this weather can’t make up its mind?! 🤪 I have two trays of veggies just waiting to be planted...please send warmer weather. 😊 🙏
“A mother is she who can take the place of all others but whose place no one else can take.” -Cardinal Mermillod
So fresh and so clean!  When we were choosing our cabinet color for this home I knew I wanted the perfect putty/greige.  I think Northern Cliffs by Benjamin Moore hit the nail on the head.  It’s warm and cozy yet still light enough to make the
I’m alive!  Just emerging from my holiday haze. 😊 We had such a good break and it was just what our family needed.  Hope you all are feeling recharged and ready to take on 2020. ❤️ sharing our before and after view of our dining/living room.

For your “Daily Decor Fix” follow @reviveanddesign


say hello

reviveanddesigninteriors@gmail.com


find us

Interior Design Studio in Kansas City


Copyright Revive & Design 2017 • Website designed by 23&9 Creative